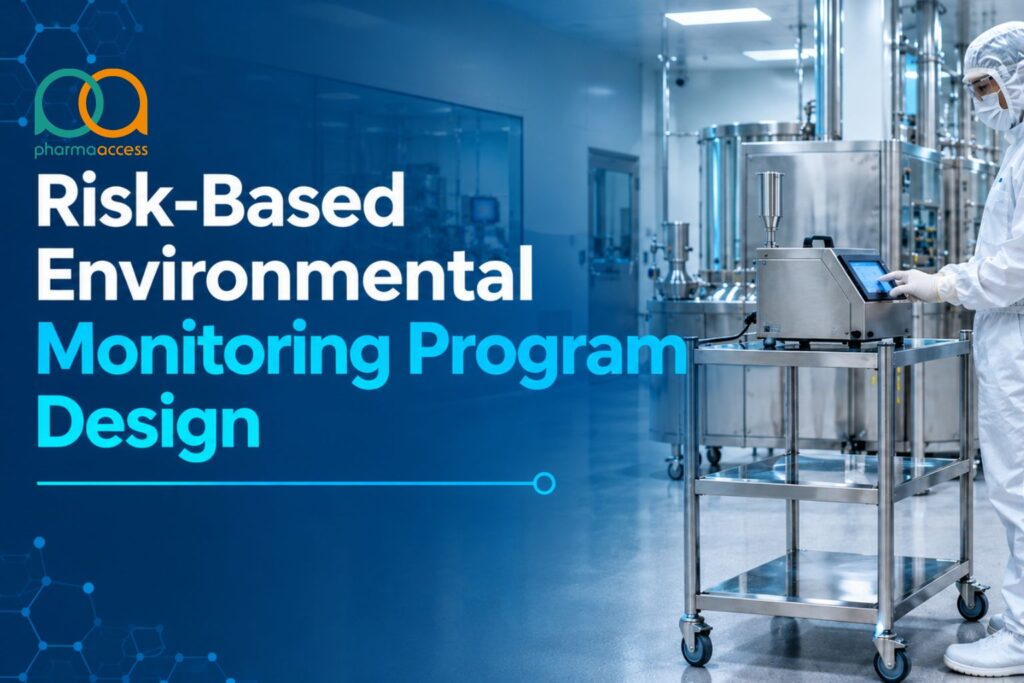
A cleanroom can be classified and still function with a weak monitoring plan. Classification means a room met its airborne particle limits under defined test conditions. Pharma teams run an environmental monitoring programme at justified frequencies, with continuous monitoring where required, to see whether the room is still performing as intended.
This post is about designing programmes for sterile pharmaceutical cleanrooms: where to sample, how often, what limits to set, and what to do with the data. It focuses on routine environmental monitoring rather than cleanroom qualification. That distinction matters. Qualification gives you a baseline, and the monitoring programme is there to assess ongoing performance against it. So here’s the breakdown.
Start With a Risk Assessment, Not a Table
EU GMP Annex 1 was published on 25 August 2022 and became generally applicable on 25 August 2023. Its expectations of monitoring are based on one idea: documented quality risk management. The risk assessment will indicate where, how often, and how you will sample, as well as the incubation conditions. It uses knowledge of the process, qualification data, routine monitoring data, and your knowledge of the site microflora. You don’t just review it one time—you do it on a schedule.
Classification still gives you a baseline. The number of sampling sites in Grades A and B and the distribution of sampling sites in the room must be justified for routine monitoring, not simply copied from the classification plan. Each sampling decision has to have a rationale documented based on your process and your history.
What to Gather Before You Write the Plan
- Process flow marking every open step and aseptic intervention
- Airflow visualisation (smoke) studies for Grades A and B
- Personnel and material movement routes
- Qualification and routine monitoring history
- Records of organism identification from previous recoveries
Without these inputs, a sampling plan lacks a defensible technical basis.
Viable and Non-Viable Monitoring: What Each One Tells You
Airborne particles are counted by total-particle monitoring, commonly called non-viable monitoring. Viable monitoring using culture-based methods recovers microorganisms capable of growing under the selected test conditions. A cleanroom environmental monitoring programme needs both, because they provide different information about environmental control.
Particle monitoring runs continuously in Grade A throughout critical processing, including equipment setup. It detects particle excursions during processing. Annex 1 also requires you to show that the particles in the ≥0.5 µm and ≥5 µm size ranges remain within limits, so keep both sizes in your plan.
Grade A total-particle monitoring should use a suitable sampling flow rate of at least 28 litres per minute; this is not a prescribed flow rate for microbial air sampling.
Viable monitoring in practice involves four major tools:
- Active air sampling: measures recoverable microorganisms as colony-forming units (CFU) per cubic metre of air.
- Settle plates: collect microbial fallout over a known time period.
- Contact plates: sample flat surfaces like walls, floors and equipment.
- Glove prints and personnel sampling: assess recoverable microbial contamination on gloves and gowns.
Each tool gives an answer to a different question. Active air sampling provides a count based on volume. Settle plates tell you to assess recoverable microbial contamination on gloves and gowns.
Choosing Environmental Monitoring Sampling Locations in Pharma Facilities
Monitoring blind spots can result from poor location choices, not just poorly selected limits. A plate put in a place that does not represent process risk may read zero, and that result may say little about conditions at the critical zone.
Grade A: Sample Close to the Action
Annex 1 directs monitoring towards locations posing the highest risk to exposed product, containers, closures and sterile equipment surfaces. The sampler shall not introduce risk into the process nor interfere with the airflow protecting the critical zone. That’s a documented risk-based decision, and your smoke studies help you make it.
How to Select Sampling Locations
- Map all open steps, transfers, and interventions.
- Review smoke-study airflow patterns. Overlay the findings on the process layout..
- Rank each site in order of product exposure and risk of contamination.
- Add personnel, material transfer, and equipment points.
- Document the rationale for each sampling location.
- After any change, excursion, or new organism trend, review the list.
Locations can also be added during an incident under Annex 1. Build that option into your investigation process, so additional sampling can be initiated promptly under approved procedures.
Grade B, C, and D Considerations
Grade B is the background to Grade A for aseptic preparation and filling where isolator technology is not used, and its sampling should therefore reflect the aseptic workflow of the Grade A zone. Annex 1 calls for personnel monitoring following critical interventions, at least for gloves, and on each exit from Grade B, for gloves and gown.
Grades C and D generally support less critical operations. In these areas, Annex 1 requires risk-based monitoring informed by qualification and routine data, with justified sampling frequencies and volumes. Let room activity lead you. Open product handling in a Grade C preparation room and a Grade C corridor are not required to have the same plan.
Setting Monitoring Frequency by Grade
Frequency reflects applicable requirements, risk and history, not the calendar. The logic goes like this:
- Grade A: Continuous air monitoring (either air sampling or settle plates) during the aseptic processing, including equipment setup (Annex 1). Monitoring of non-viable particles is also continuous.
- Grade B: Consider a similar viable monitoring approach based on the risk of impact on aseptic processing; particle-monitoring frequency may be reduced where justified, while remaining sufficient to detect deterioration.
- Grade C and D: Less frequent monitoring is acceptable if qualification results, if risk and trend data support it.
Sample volumes also need a rationale. Routine automated particle monitoring does not need to use the same sample volume as formal cleanroom classification, as explained in Annex 1 §9.21. The rationale should consider sampling rate, frequency and duration, and you justify each volume you take.
Increase monitoring coverage or frequency where justified following maintenance, shutdowns, layout changes, or an adverse trend. Lower it only when your data and risk logic justify the change without falling below applicable minimum requirements, and write that logic down.
The programme should also include viable monitoring outside normal manufacturing operations, such as after disinfection, before manufacturing and following shutdowns, as described in Annex 1 §9.23.
Environmental Monitoring Alert and Action Limits
Annex 1 specifies maximum action limits, while site-specific alert levels and action limits must be justified within that framework. You establish them from qualification results, a formal risk assessment and trend data and review as data accrue.
These are the maximum action limits for viable monitoring in Annex 1 Table 6:
- Grade A: no growth. Recovery of 1 CFU or greater will prompt an investigation.
- Grade B: 10 CFU/m³ for air samples, 5 CFU per 90 mm settle plate in 4 h, 5 CFU per contact plate, and 5 CFU per glove, with five fingers of each hand sampled.
- For grades C and D, the air-sampling limits are 100 and 200 CFU/m³, the settle-plate limits are 50 and 100 CFU per 90 mm plate over four hours, and the contact-plate limits are 25 and 50 CFU per 55 mm plate, respectively. No glove-print limits are specified for these grades in that table.
Settle plates should be changed after a maximum of four hours, or sooner where required by validated exposure conditions; exposure time and frequency in Grades C and D should be risk-based.
Consider these numbers as ceilings. Annex 1 allows for tighter action limits, and you should set them if your data support it. For a Grade C room that is consistently low, a justified lower action limit may better reflect expected performance than the maximum in the table.
Alert levels are generally lower than action limits, but Grade A viable monitoring has a no-growth criterion and any growth requires investigation. Set applicable alert levels to provide an early warning of adverse trends. This can give you time to act before a result crosses the line.
Trending: Catch the Drift Early
A single result tells you about one moment. Trend analysis provides the wider context. Good trending can show gradual deterioration, repeated recoveries at particular locations, and personnel patterns before alert levels or action limits are exceeded.
Steps to Build a Trending Routine
- Plot results by location, room, and grade over time.
- Sort the data by shift and also by operation and operator group.
- Don’t just count; track organism identity.
- Track repeated recoveries from the same location.
- Review alert-level excursions and their frequency on a regular schedule.
- Use findings to review sampling plans and limits.
Pair counts with identification. Counts indicate the level of microbial recovery. Identity provides clues to potential contamination sources. Recovery of skin flora may prompt a review of gowning and interventions. Spore-forming or other environmental organisms may prompt a review of materials, cleaning and disinfection, or air-control systems. Treat them as leads to follow up, not as conclusions.
Investigations: What Happens When a Limit Breaks
Annex 1 requires you to investigate any monitoring non-conformity before certification or release of an affected batch. If a result is over an action limit, your procedure needs a root cause investigation, a product impact assessment including batches produced between sampling and reporting, and corrective and preventive actions (CAPA).
Alert-level excursions also require assessment and follow-up, with investigation or corrective action considered as appropriate.
Begin organism identification quickly**, with species-level identification of Grade A and Grade B recoveries**. The decision to identify recoveries from Grades C and D should consider excursions, organisms of concern and the need to maintain an understanding of the area’s typical flora. Any microbial recovery in Grade A results in an investigation.
One more programme-design consideration matters. Environmental monitoring during an aseptic process simulation should be representative of routine production and should cover the entire simulation. If your routine plan has gaps, the simulation cannot be relied upon to expose them all.
How the Contamination Control Strategy Ties It Together
A contamination control strategy (CCS) is a facility-wide scheme. It outlines how to avoid, check, and control contamination. Annex 1 refers to environmental monitoring as one element of the CCS together with flexible pharma facility design, airflow, cleaning and personnel controls.
Monitoring helps assess whether those other controls are effective. The CCS should also evaluate the operation of the monitoring itself.
Two practical points emerge:
- Close the circle. CCS reviews should be informed by trend data and investigations. Review the strategy after an excursion and update it where the findings justify a change.
- Shares ownership. CCS is a shared responsibility of operations, engineering, and quality. If a strategy is only in the quality department, it will miss design and workflow problems.
HVAC, Pressure Cascades, and Facility Design
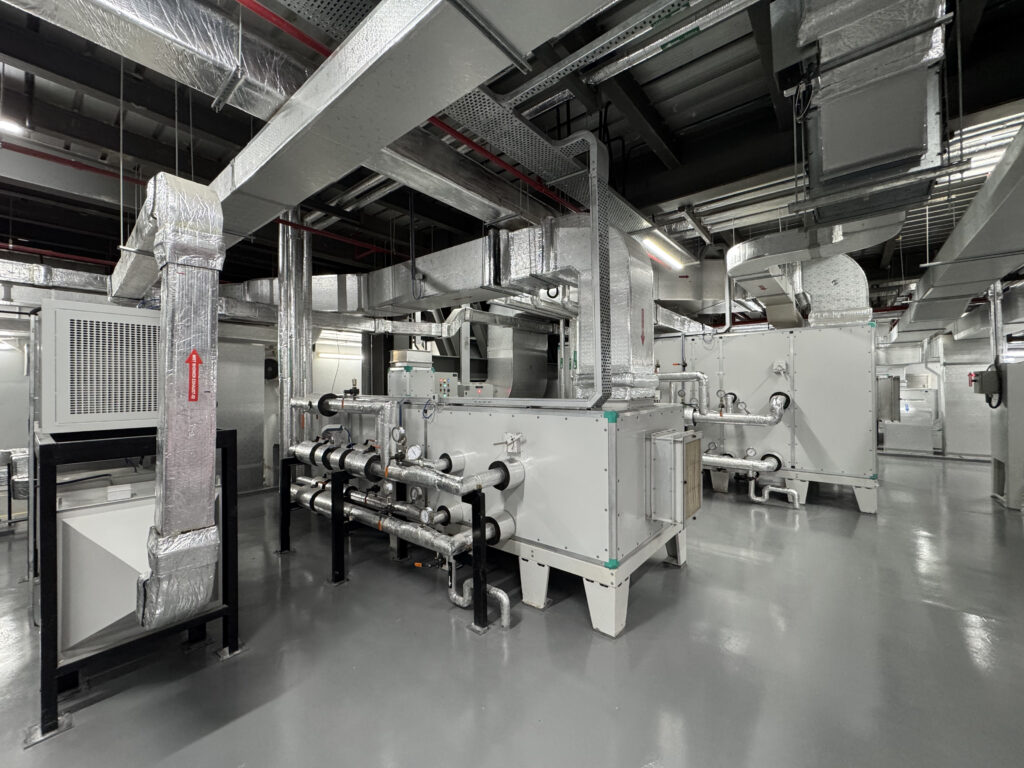
The facility design influences how effectively you can monitor environmental conditions. There is no sampling plan that can compensate for airflow that carries contamination toward a Grade A area.
First, let’s look at the pressure cascade. According to Annex 1, adjacent rooms of different grades should be kept to a pressure difference of at least 10 pascals (guidance value). FDA guidance gives a positive pressure differential of at least 10–15 Pa as an example for adjacent rooms of different classifications with doors closed. Airlocks help maintain that cascade, and Annex 1 prefers separate airlocks for personnel and materials where feasible. The Annex also requires critical pressure differences to be continuously monitored and recorded, with a warning system for failures or reductions below defined limits.
Where hazardous materials require containment, the pressure strategy may need modification without compromising protection of the critical zone.
Next, compare pressure data with your microbial data. A pressure disturbance may be detected before incubated microbial results become available, but neither result alone establishes whether product contamination occurred.
Design choices also affect the quality of monitoring:
- Continuous particle counter sample ports and tubing paths
- Access to Grade A sampling points without interfering with airflow
- Return-air locations and their effect on airflow around sampling points
- Grade B personnel sampling space exits
- The method of pressure regulation (direct pressure regulation or fixed balance with dampers) affects the stability of the cascade
Engineering partners see this link early on. At Pharma Access, we provide HVAC system design, modular cleanroom design, BMS and EMS design, CQV and project management services. These disciplines should be coordinated with the manufacturer’s quality and microbiology teams when defining monitoring provisions.
The first step to a defensible environmental monitoring programme that pharma plants can stand behind begins on the drawing board. It costs a lot more to move a sample port after construction than it does to put it in the right place on the drawing.
Next Steps: Build Your Program in Order
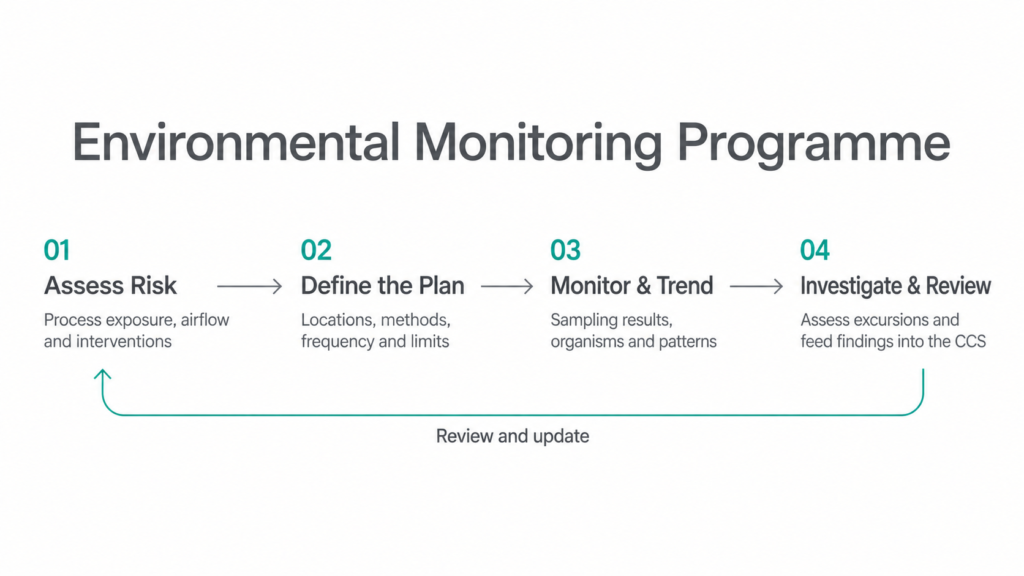
- Fill in the risk assessment with process, airflow, and history information.
- Choose sample locations by grade and justify each location.
- Provide continuous viable air and total-particle monitoring throughout Grade A critical processing, with justified frequencies for other grades.
- Set alert levels and action limits from your data, within Annex 1 requirements and with tighter action limits where justified.
- Write investigation steps for identifying the organism and impact on the product.
- Follow the trend, then review and, where appropriate, update the CCS with what you find.
- Bring engineering into the review since HVAC and layout influence what you can sample. Discuss your cleanroom, HVAC and monitoring-integration requirements with Pharma Access.
Frequently Asked Questions
What is an environmental monitoring programme in pharma?
It is a documented plan that states where, when, how, and how often you sample air, surfaces, and people in cleanrooms. It covers viable and total-particle monitoring, alert levels, action limits, trending and investigations. It helps assess whether your contamination controls are still effective between qualification events.
How often should you monitor Grade A areas?
Annex 1 requires continuous non-viable particle monitoring and continuous viable monitoring over the entire period of aseptic processing, including equipment setup. For Grade B, consider a similar viable monitoring approach based on the risk to aseptic processing and justify the particle-monitoring frequency.
How do you set alert and action limits?
The Annex 1 maxes are ceilings. Then tighten the limits where the results support it, based on your own trend data and risk assessment. Set alert limits below action limits where applicable to detect adverse trends early and review on a schedule.For Grade A viable monitoring, any growth requires investigation rather than waiting for a separate numerical alert threshold.
What is the Grade B microbial limit under Annex 1?
The Annex sets maximums of 10 CFU/m³ for air, 5 CFU per 90 mm settle plate over four hours, 5 CFU per contact plate, and 5 CFU per glove, with five fingers of each hand sampled. Grade A requires no growth. You can also set tighter limits where justified and applicable.
How does the CCS relate to environmental monitoring?
CCS is the facility-wide plan for contamination prevention and control. Environmental monitoring provides evidence for assessing the effectiveness of contamination controls; it does not prove sterility by itself. Trends and investigations feed back into CCS reviews and, where justified, changes to facility design, airflow, cleaning and personnel controls.